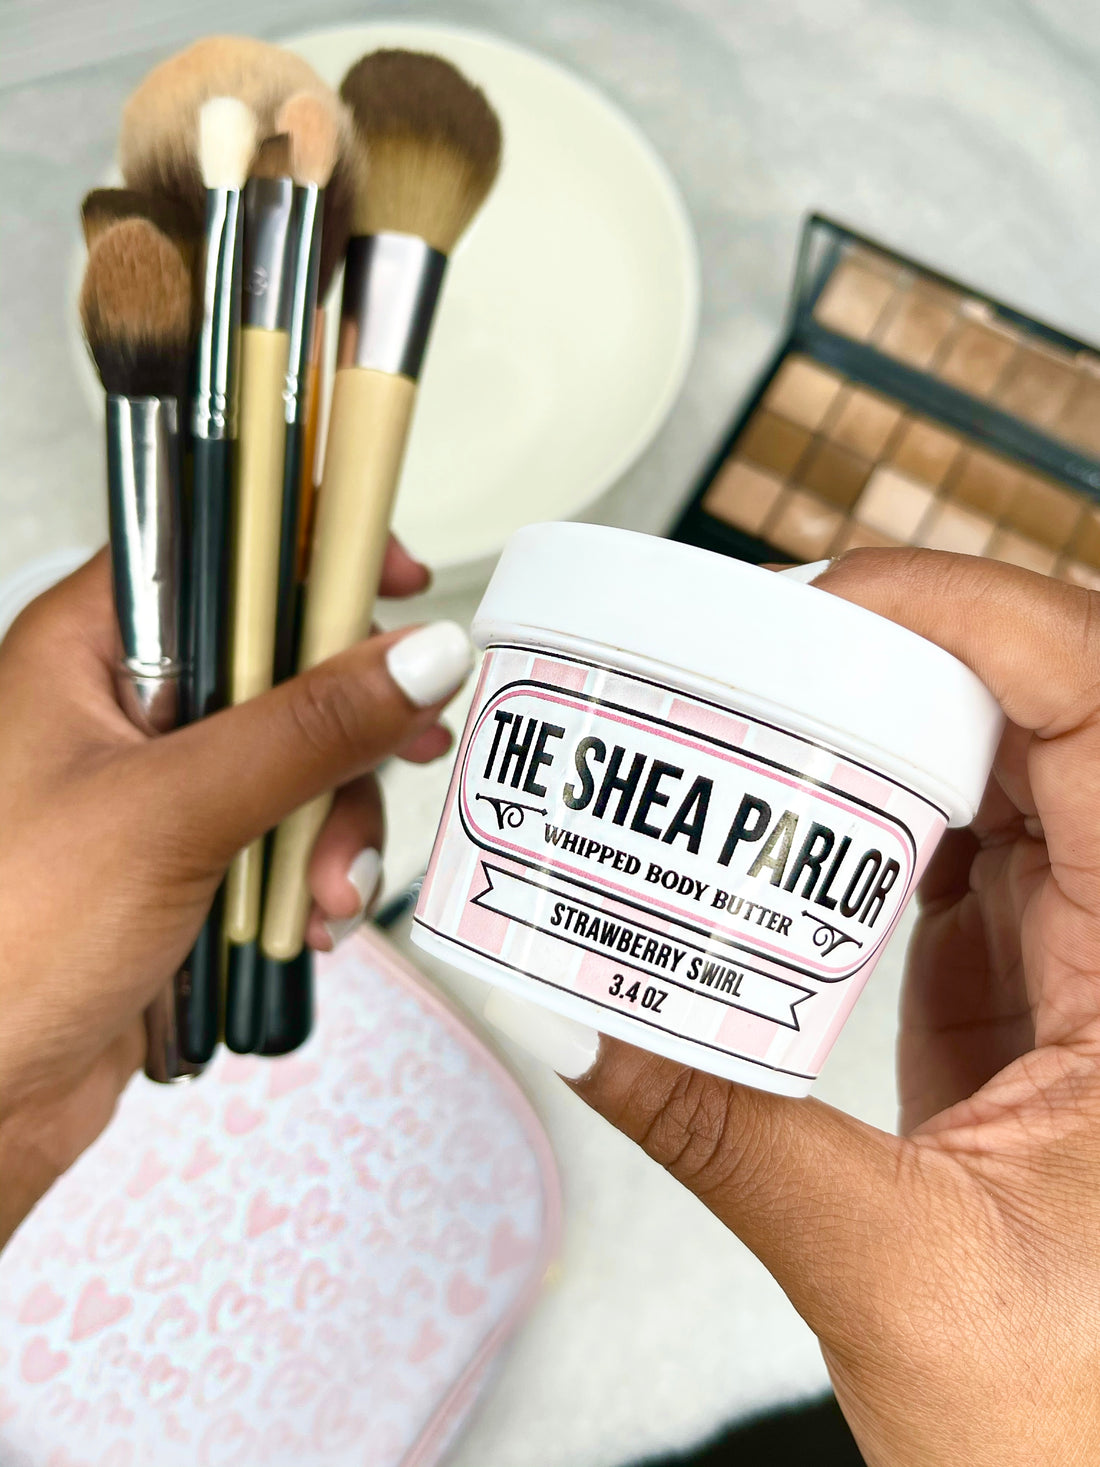
How to Clean Makeup Brushes with Body Butter

Makeup brushes can cling onto dirt, grime, dead skin cells, bacteria and oils that will not only clog pores but also hinder the brush’s ability to properly and evenly apply makeup. If they’re touching other brushes, rattling around in your makeup bag, or you find your makeup not spreading as smoothly as it could, chances are, it’s probably time for a makeup brush deep cleanse.
We know taking time to wash your brushes may sound like a chore, but it can be a quick and easy task with results you can both see and feel. It’s also extremely satisfying to see the before and after transformation.
But how? And with what?
When it comes to makeup brush cleaning, there are a number of different ways you can tackle the task. From specialized brush shampoos and cleansers to DIY mixtures, there’s a ton of products and methods to choose from. We tried a few, and narrowed down brush-cleaning basics to this principle:
Whichever method you choose, make sure it cleanses your brushes and ensures they won’t dry out.
Below, we've created a simple brush cleaning guide keeping this principle in mind using dish soap and whipped shea butter. We love this combo! We recommend dish soap and whipped shea butter for two reasons:
- Shea butter is a natural moisturizer—dish soap alone would be too harsh and could damage your brushes.
- Whipped shea butter (rather than a raw version) will mix evenly with the dish soap without clumping.
Can you say squeaky clean without over-drying? Jackpot!
Follow this step-by-step tutorial and quickly transform your dirty makeup brushes into sparkling new beauty tools. Trust us, your skin and makeup will thank you.
What you’ll need:
- Dawn dish soap
- Whipped Shea Butter
- Plate or bowl
- Paper towels
Step 1—Prep.
Grab some Dawn anti-bacterial dishwashing soap, whipped shea butter, a plate or bowl, and some paper towels. Makeup pros recommend using Dawn dish soap for its powerful degreasing properties.
Step 2—Mix.
Mix together equal parts liquid soap and whipped shea butter onto a plate or in a bowl using your makeup brush bristles.
Step 3—Swirl.
Once the brush bristles have been thoroughly coated in the soap, swirl the brush at the palm of your hand. Just swirl, swirl, swirl and repeat until you feel like you’ve cleaned it enough. After that, repeat Steps 1 to 3 with all the brushes you have.
Step 4—Rinse.
Once you’re done cleaning them, it’s time to rinse them. Only use lukewarm water as this is the best temperature for your makeup brushes’ bristles. Watch as all the excess makeup and dirt wash out of the brush and straight down the drain.
[Note: If your brushes have not been cleaned in a while and makeup is caked on, this may require you to repeat Steps 1-4 until the water runs clear between the bristles. You can test to see if the brush is clean by running it over a paper towel. If makeup comes off onto the paper towel, repeat Steps 1-4. Since makeup can stain cloth if not washed out right away, we would NOT recommend doing this test on a cloth towel unless you do not mind it getting stained.]
Pro Tip: Make sure that the brush is pointing downwards with the bristles at the bottom when rinsing. Holding the makeup brush the other way will cause the water to get into the brush damaging the glue that holds the bristles together. Your brushes will be bald headed in no time and it will destroy your precious (and probably expensive) brushes. Remember: bristles down!
Step 5—Squeeze and Reshape.
When you’re done rinsing the brush, squeeze the bristles to remove excess water. This will make drying easier and faster. Careful not to pull the bristles when squeezing. Reshape the brush hairs while they are still damp.
Step 6—Dry.
Now all you have to do is let them air dry on a towel. You can also leave the brushes hanging over the edge of a table to dry.
Final notes:
- It will usually take 3-4 hours for the brushes to dry completely. You'll want to check the bristles by touching them with your hand before you use them to make sure they are dry.
- Due to drying time, it is best to use this cleaning method well before you’ll need to use them. So plan ahead!
Cleaning your brushes may feel like a drag at first, but your skin will thank you big time. Let us know if this worked for you, and make sure you’re subscribed to our newsletter to get more tips like this!
Don’t have any whipped shea butter? We got you! Try our Unscented Whipped Shea Butter.

2 comments
This is a great tip.
I don’t clean my brushes enough. I will try it soon.
This is a great tip.
I don’t clean my brushes enough. I will try it soon.